- PHP 66.2%
- Blade 30.4%
- HTML 1.4%
- JavaScript 0.9%
- Liquid 0.7%
- Other 0.4%
| Filename | Latest commit message | Latest commit date |
|---|---|---|
| .devcontainer | ||
| .github | ||
| app | ||
| bootstrap | ||
| config | ||
| database | ||
| docker/prod | ||
| docs | ||
| lang/de | ||
| public | ||
| resources | ||
| routes | ||
| screenshots | ||
| storage | ||
| tests | ||
| .dockerignore | ||
| .editorconfig | ||
| .env.example | ||
| .env.example.local | ||
| .gitattributes | ||
| .gitignore | ||
| .npmrc | ||
| artisan | ||
| composer.json | ||
| composer.lock | ||
| CONTRIBUTING.md | ||
| docker-compose.yml | ||
| Dockerfile | ||
| example.png | ||
| LICENSE.md | ||
| package-lock.json | ||
| package.json | ||
| phpstan.neon | ||
| phpunit.xml | ||
| pint.json | ||
| README.md | ||
| README_byos-devices.jpeg | ||
| README_byos-screenshot-dark.png | ||
| README_byos-screenshot.png | ||
| rector.php | ||
| vite.config.js | ||



LaraPaper (PHP/Laravel)

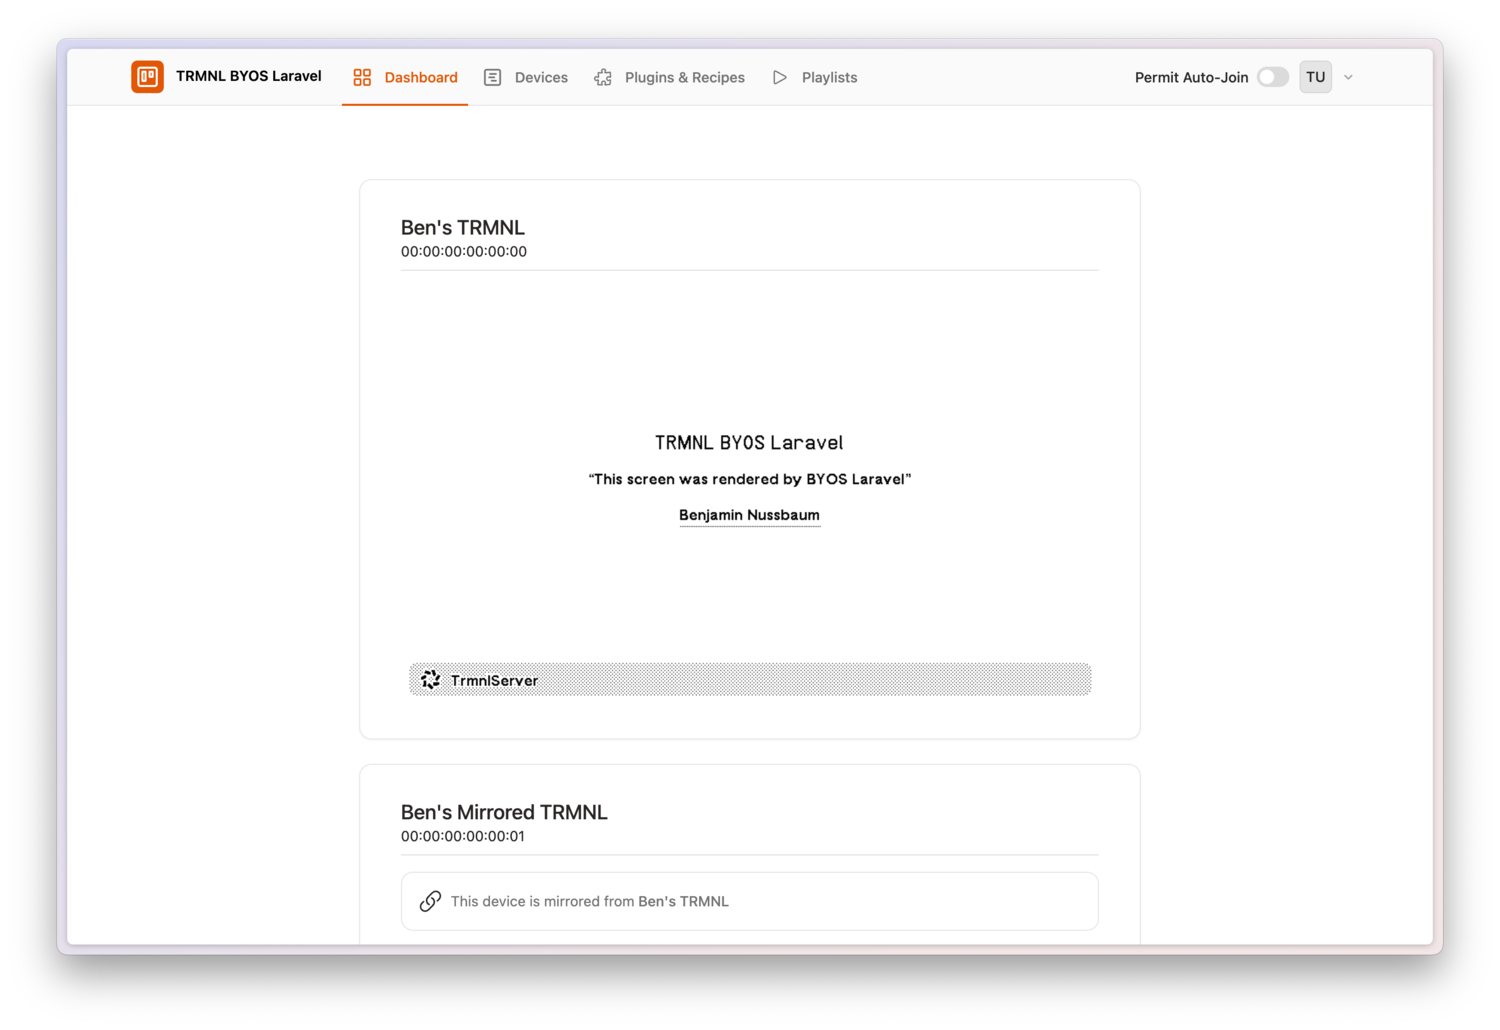
LaraPaper is a self-hostable implementation of a TRMNL server (BYOS), built with Laravel. It allows you to manage TRMNL-compatible devices, generate screens using native plugins (Screens API, Screenshot, Image Webhook), recipes (170+ from the OSS community catalog, 1000+ from the TRMNL catalog, or your own), or the API, and can also act as a proxy for the native cloud service (Core). With over 400k downloads and 400+ stars, it’s the most popular community-driven BYOS.
Key Features
- 📡 Device Information – Display battery status, WiFi strength, firmware version, and more.
- 🔍 Auto-Join – Automatically detects and adds devices from your local network.
- 🖥️ Screen Generation – Supports Plugins (including Mashups), Recipes, API, Screenshot, Image Webhook, Markup, or updates via Code.
- Support for TRMNL Design Framework
- Compatible open-source recipes are available in the community catalog
- Import from the TRMNL community recipe catalog
- Supported Devices
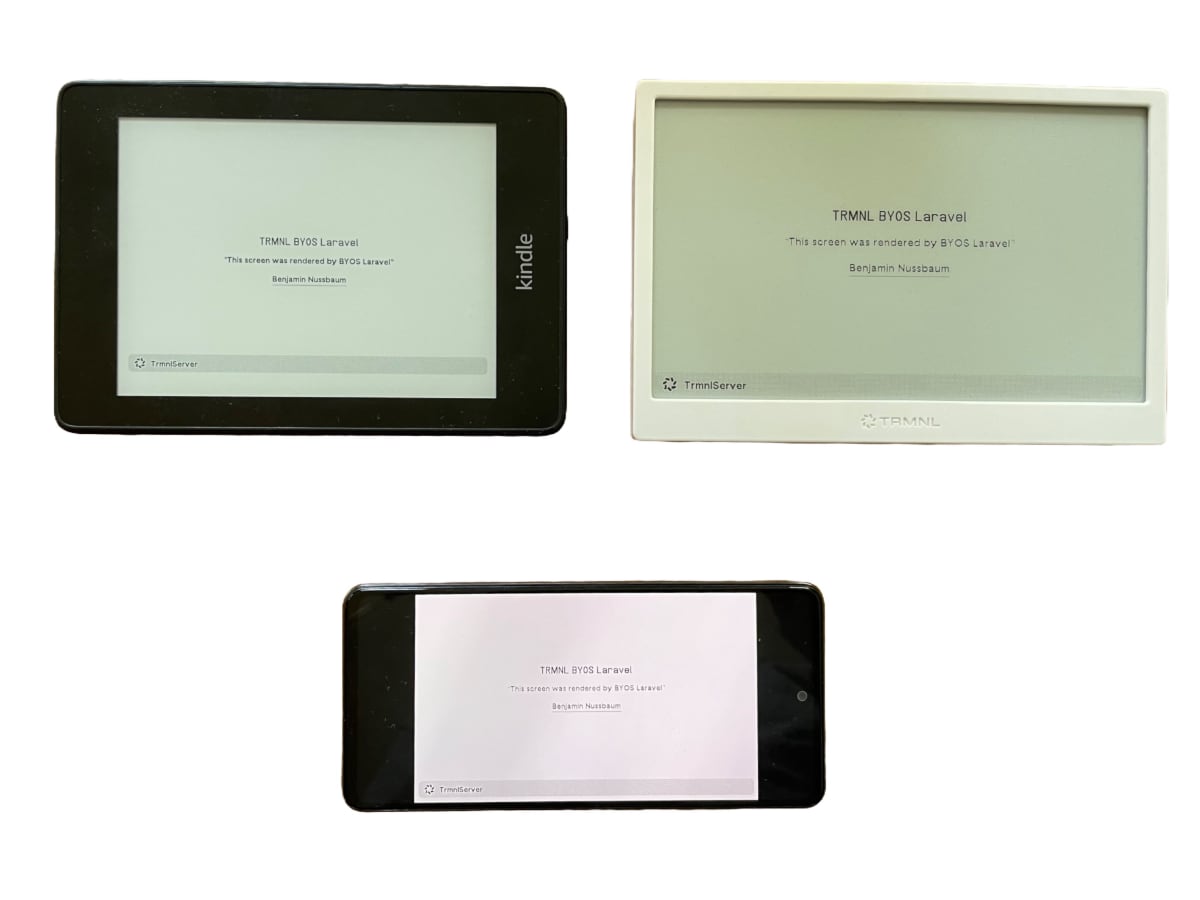
- TRMNL OG (1-bit & 2-bit, BRWY), TRMNL X
- SeeedStudio TRMNL 7,5" (OG) DIY Kit
- Seeed Studio (XIAO 7.5" ePaper Panel)
- reTerminal E1001 Monochrome ePaper Display
- Custom ESP32 with TRMNL firmware
- E-Reader Devices
- KOReader (trmnl-koreader)
- Kindle (trmnl-kindle)
- Nook (trmnl-nook)
- Kobo (trmnl-kobo)
- Android Devices with trmnl-android
- Raspberry Pi (HDMI output) trmnl-display
- 🔄 TRMNL API Proxy – Can act as a proxy for the native cloud service (requires TRMNL Developer Edition).
- This enables a hybrid setup – for example, you can update your custom Train Monitor every 5 minutes in the morning, while displaying native TRMNL plugins throughout the day.
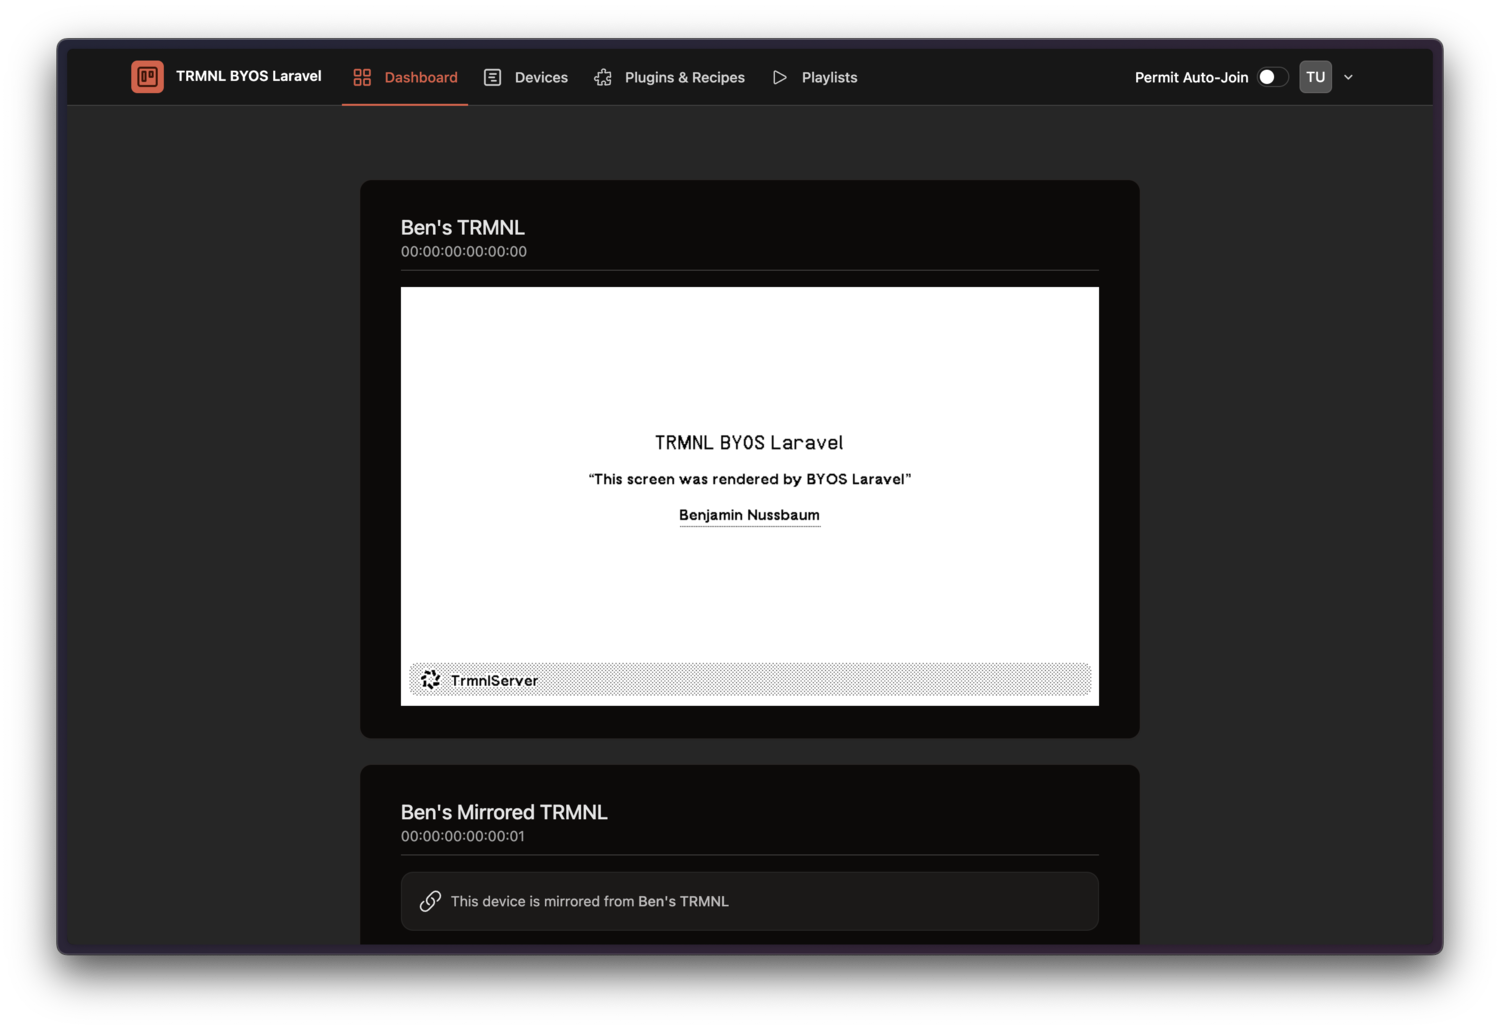
- 🌙 Dark Mode – Switch between light and dark mode.
- 🐳 Deployment – Dockerized setup for easier hosting (Dockerfile, docker-compose).
- 💾 Flexible Database configuration – uses SQLite by default, also compatible with MySQL or PostgreSQL
- 🛠️ Devcontainer support for easier development.
Support ❤️
This repo is maintained voluntarily by @bnussbau.
Support the development of this package by purchasing a TRMNL device through the referral link: https://trmnl.com/?ref=laravel-trmnl. At checkout, use the code laravel-trmnl to receive a $15 discount on your purchase.
or

Hosting
Run everywhere, where Docker is supported: Raspberry Pi, VPS, NAS, Container Cloud Service (Cloud Run, ...).
For production use, generate a new APP_KEY (php artisan key:generate --show) and set the environment variable APP_KEY=. For personal use, you can disable registration (see section Environment Variables).
Docker Compose
Docker Compose file located at: docker/prod/docker-compose.yml.
Backup Database
docker ps #find container id of larapaper container
docker cp {{CONTAINER_ID}}:/var/www/html/database/storage/database.sqlite database_backup.sqlite
Updating via Docker Compose
docker compose pull
docker compose down
docker compose up -d
VPS
If you’re using a VPS (e.g., Hetzner) and prefer an alternative to native Docker, you can install Dokploy and deploy LaraPaper using the integrated Template. It’s a quick way to get started without having to manually manage Docker setup.
PikaPods
You can vote for LaraPaper to be included as PikaPods Template here: feedback.pikapods.com
Umbrel
Umbrel is supported through a community store, see.
Other Hosting Options
Laravel Forge, or bare metal PHP server with Nginx or Apache is also supported.
Requirements
- PHP >= 8.4
- ext-imagick
- puppeteer see Browsershot docs
Local Development
Demo Plugins
Run the ExampleRecipesSeeder to seed the database with example plugins:
php artisan db:seed --class=ExampleRecipesSeeder
- Zen Quotes
- This Day in History
- Weather
- Train Departure Monitor
- Home Assistant
- Sunrise/Sunset
Usage
Environment Variables
| Environment Variable | Description | Default |
|---|---|---|
TRMNL_PROXY_BASE_URL |
Base URL of the native TRMNL service | https://trmnl.app |
TRMNL_PROXY_REFRESH_MINUTES |
How often should the server fetch new images from native service | 15 |
TRMNL_BLADE_FRAMEWORK_BASE_URL |
Base URL for versioned TRMNL framework CSS/JS used when rendering recipes | https://trmnl.com |
MULTIUSER_REGISTRATION_ENABLED |
After the first account, allow more signups and disable user-authored Blade. See the security note below. | 0 |
INSECURE_BLADE_ALLOW_PHP_EXECUTION |
Force compiling user Blade as PHP on (1) or off (0). Unset: on for a single user, off for multi-user. 1 in multi-user mode is remote code execution for every registered user. |
auto |
PASSKEYS_ENABLED |
Enable Passkeys for login (requires HTTPS) | 0 |
SSL_MODE |
SSL Mode, if not using a Reverse Proxy (docs) | off |
FORCE_HTTPS |
If your server handles SSL termination, enforce HTTPS. Alternative: TRUSTED_PROXIES. |
0 |
TRUSTED_PROXIES |
If your server handles SSL termination, allow mixed mode. e.g. "172.0.0.0/8" or * |
null |
PHP_OPCACHE_ENABLE |
Enable PHP Opcache | 0 |
TRMNL_IMAGE_URL_TIMEOUT |
How long TRMNL waits for a response on the display endpoint. (sec) | 30 |
HTTP_CLIENT_TIMEOUT |
Outbound HTTP timeout when fetching recipe polling URLs. (sec) | 10 |
APP_TIMEZONE |
Default timezone, which will be used by the PHP date functions. UTC is recommended. | UTC |
Login
If your environment is local, you can access the server at http://localhost:4567 and login with user / password
admin@example.com / admin@example.com, otherwise register the first account. Further signup stays closed unless MULTIUSER_REGISTRATION_ENABLED=1.
Security: Turning on multi-user registration disables user-authored Blade unless INSECURE_BLADE_ALLOW_PHP_EXECUTION=1. That insecure flag lets any registered user execute PHP on the server, potentially accessing other users' data. Set INSECURE_BLADE_ALLOW_PHP_EXECUTION=0 to disable Blade on a single-user server too.
➕ Add Your TRMNL Device
Auto-Join (Local Network)
- Switch on the “Permit Auto-Join” toggle in the header. For that to work only one user can be registered.
- New devices on your local network will be detected and added automatically when connecting to the server.
✅ This is the easiest way to connect your devices with minimal effort.
Manually
- Open the Devices page: 👉 http://localhost:4567/devices
- Click “Add New Device”.
- Retrieve your TRMNL MAC Address and API Key:
- You can grab the TRMNL Mac Address and API Key from the TRMNL Dashboard
- Alternatively, debug incoming requests to /api/setup to determine them
⚙️ Configure Server for Device
📌 Firmware Version 1.4.6 or Newer
- Setup device
- After entering Wifi credentials, choose "Custom Server"
- Point to the URL of your server
Firmware Older Than 1.4.6
If your device firmware is older than 1.4.6, you need to flash a new firmware version to point it to your server.
See this YouTube guide: https://www.youtube.com/watch?v=3xehPW-PCOM
☁️ Activate fresh TRMNL Device with Cloud Proxy
- Setup the TRMNL as in the official docs with the cloud service (connect one of the plugins to later verify it works)
- Setup LaraPaper, create a user and login
- In LaraPaper in the header bar, activate the toggle "Permit Auto-Join"
- Press and hold the button on the back of your TRMNL for 5 seconds to reactivate the captive portal (or reflash).
- Go through the setup process again, in the screen where you provide the Wi-Fi credentials there is also option to set the Server URL. Use the local address of LaraPaper.
- The device should automatically appear in the device list; you can deactivate the "Permit Auto-Join" toggle again.
- In the devices list, activate the toggle "☁️ Proxy" for your device. (Make sure that the queue worker is active. In the docker image it should be running automatically.)
- As long as no LaraPaper plugin is scheduled, the device will show your cloud plugins.
Troubleshooting
Make sure that your device has a Developer license, you should be able to verify by calling the https://trmnl.app/api/display endpoint.
- https://docs.usetrmnl.com/go/private-api/introduction
- https://docs.usetrmnl.com/go/private-api/fetch-screen-content
🖥️ Generate Screens
Markup via Web Interface
- Navigate to Plugins > Markup in the Web Interface.
- Enter your markup manually or select from the available templates.
- Save and apply the changes.
- Available Blade Components are listed here: laravel-trmnl-blade | Blade Components
🎨 Blade View
- Edit
resources/views/trmnl.blade.php- Available Blade Components are listed here: laravel-trmnl-blade | Blade Components
- To generate the screen, run
php artisan trmnl:screen:generate
Generate via API
You can dynamically update screens by sending a POST request.
- Send a POST request to
/api/screenwith the following payload
Header
Authorization Bearer <TOKEN>
Body
{
    "markup": "<h1>Hello World</h1>"
}
Releated Work
- bnussbau/epaper-pipeline-php – Browser Rendering and Image Conversion Pipeline with support for TRMNL Models API
- bnussbau/laravel-trmnl-blade – Blade Components on top of the TRMNL Design System
- bnussbau/trmnl-recipe-catalog – A community-driven catalog of public repositories containing trmnlp-compatible recipes.
🤝 Contribution
Contributions are welcome! See CONTRIBUTING.md for details.